Introduction
In today’s connected world, working together is important. Whether you’re sharing documents, CAD drawings, graphic design files, or videos, sharing and collecting files easily is a must. Microsoft OneDrive, a cloud storage, and file-sharing tool, has a useful feature called “File Requests” that makes getting files from others simpler.
Understanding OneDrive File Requests
OneDrive File Requests allows you to create a unique and secure link that can be shared with others. They can utilize this link to submit files to you, without requiring a Microsoft account or access to all of your files. This feature offers flexibility and be used to request a wide range of file formats.
Step By Step Breakdown of how to use OneDrive File Requests
Step 1: Access OneDrive
To start, you need a OneDrive account. If you don’t have one yet, you can make a new account or use your current Microsoft account. Launch your preferred web browser and visit the OneDrive website (onedrive.live.com). If you’re not already logged in, sign into your Microsoft account.
Step 2: Create a New Folder
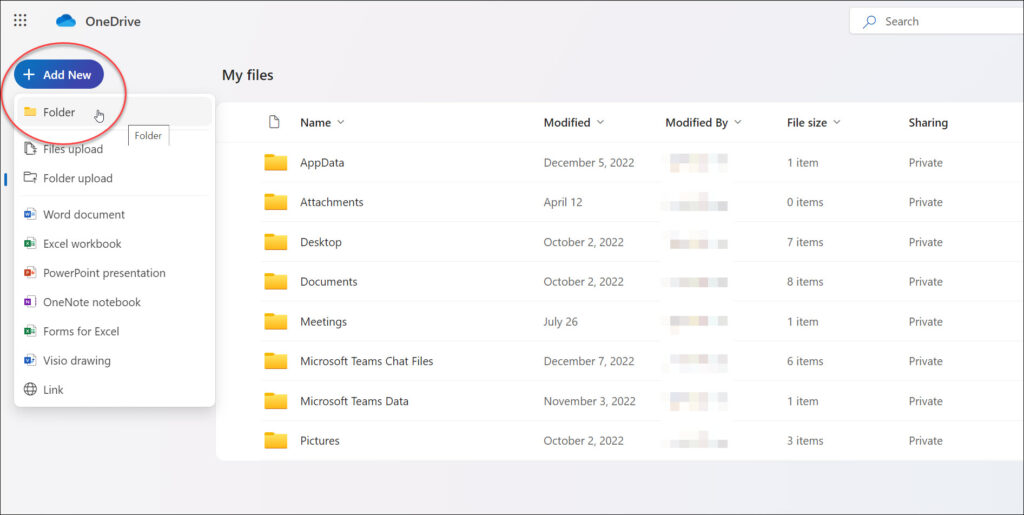
If you don’t already have a dedicated folder for your file requests, it’s a good idea to make one. Click the “New” button and select “Folder.” Name the folder something that makes sense, like “File Requests” or “Client Submissions.”
Step 3: Create a File Request
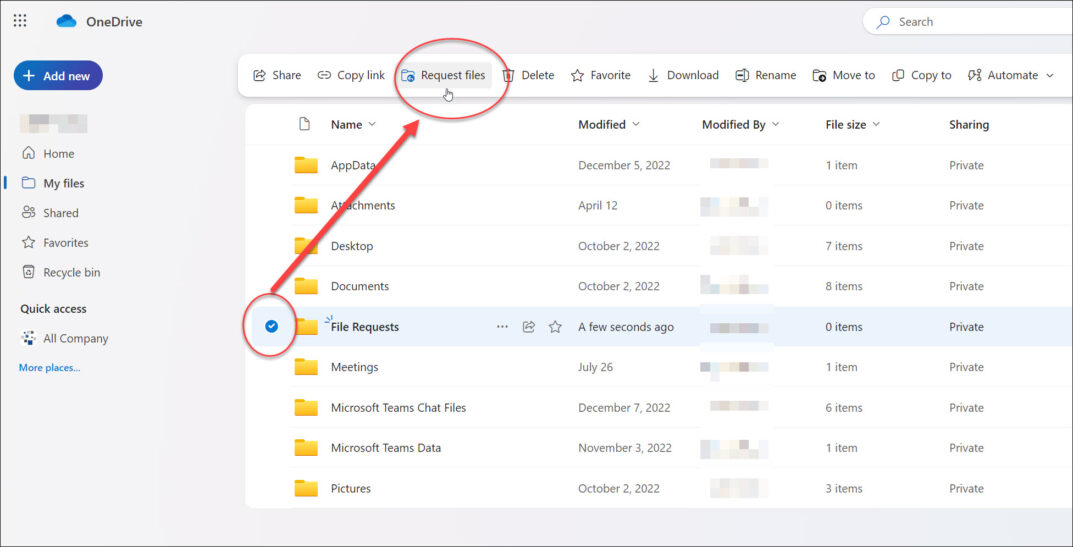
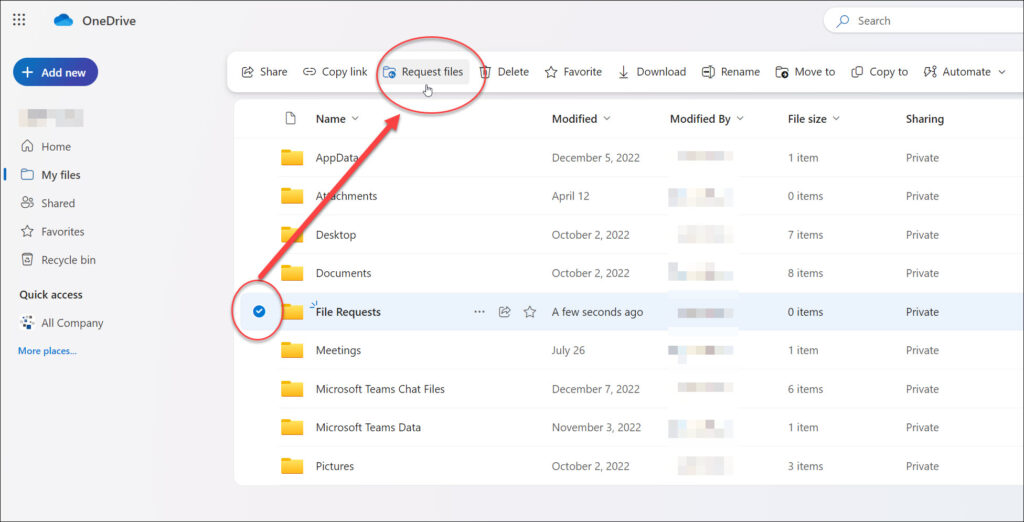
Check the box next to the folder you created, then click “Request Files.”
Inside the folder, look for a button that says, “Request files.” Click on this button to initiate the process of generating your file request.
Step 4: Customize Your Request
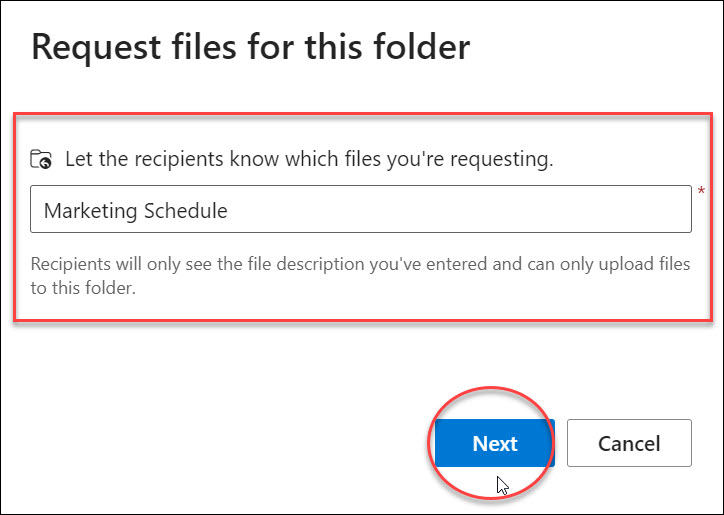
A small window will pop up where you can set up your file request. In this window, you can:
- Give your request a descriptive name.
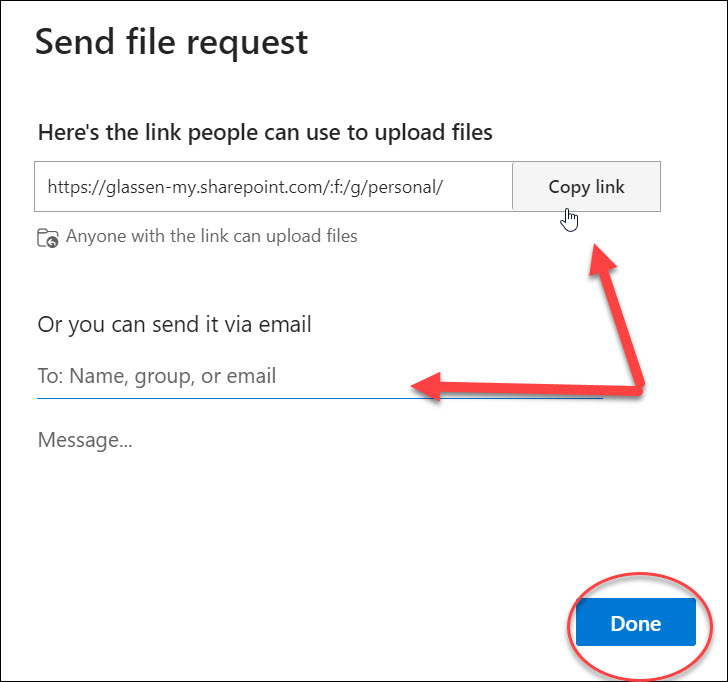
- Generate a link to send to the recipient, or “send an email request” and add an optional message to explain what you need or give instructions.
Step 5: Create the Request
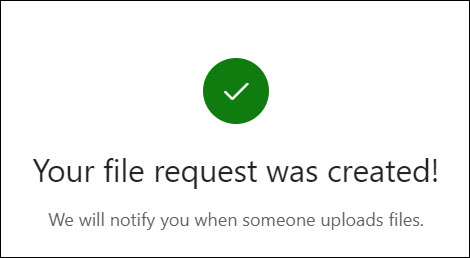
After customizing your request, click the “Next” button to proceed. Review your settings, and once satisfied, click “Create” to generate the file request link.
Step 6: Share the Request Link
Upon creating your request, you’ll get an exclusive link. Copy this link and send it to the individuals you want to receive files from. You can share it through email, messaging apps, or your preferred way.
Step 7: Keep an Eye on the Files
As individuals use the link to upload files, you’ll have real-time access to monitor the submissions. To review these contributions, return to the “File Requests” tab within your OneDrive folder.
Conclusion
OneDrive’s File Requests feature simplifies the process of gathering files from others, making it an invaluable tool. Whether you’re collaborating with clients, or sharing documents or videos with colleagues, File Requests streamline the process, save you time, and keep things organized. Start using this feature today and enjoy the convenience of stress-free file collection with OneDrive.

